This the just the workflow with Stable Diffusion XL(SDXL) models, but you can choose any SDXL fined tune models check points as per requirements to make your workflow better. To work with the workflow, you should use NVIDIA GPU with minimum 12GB (more is best).
Installation Process:
1. This workflow is only dependent on ComfyUI, so you need to install this WebUI into your machine.
2. Update your ComfyUI using ComfyUI Manager by selecting “Update All“. Next, you need to have AnimateDiff installed. Using ComfyUI Manager search for “AnimateDiff Evolved” node, and make sure the author is Kosinkadink. Just click on “Install” button.
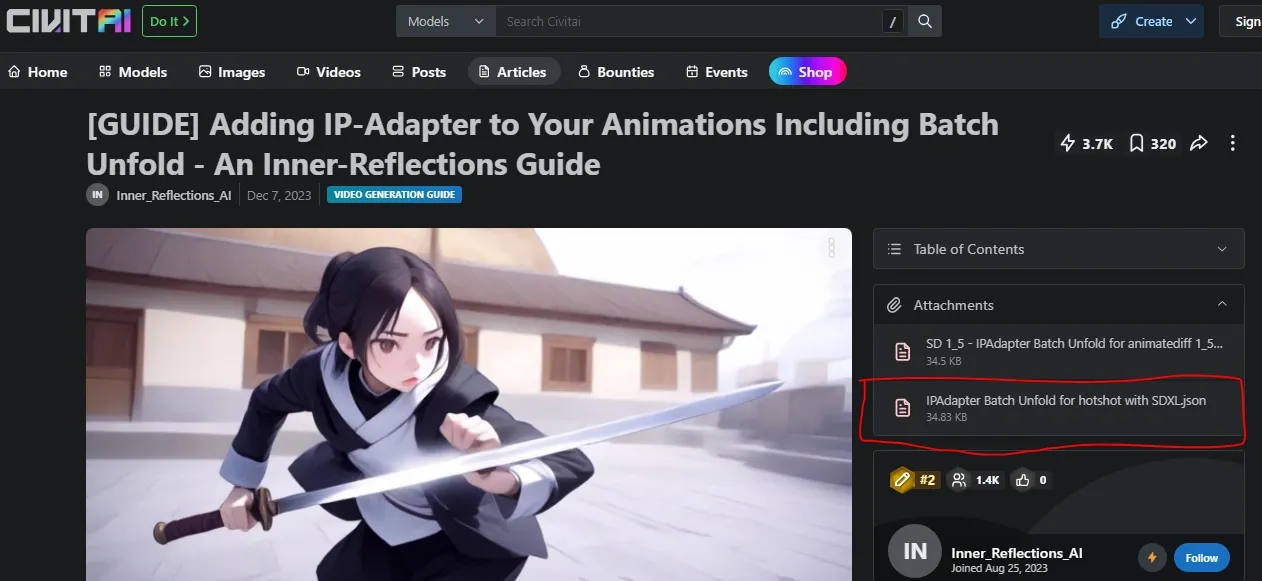
Download the “IP adapter batch unfold for SDXL” workflow from CivitAI article by Inner Reflections. Just directly drag and drop into ComfyUI. The is the basic ComfyUI workflow.
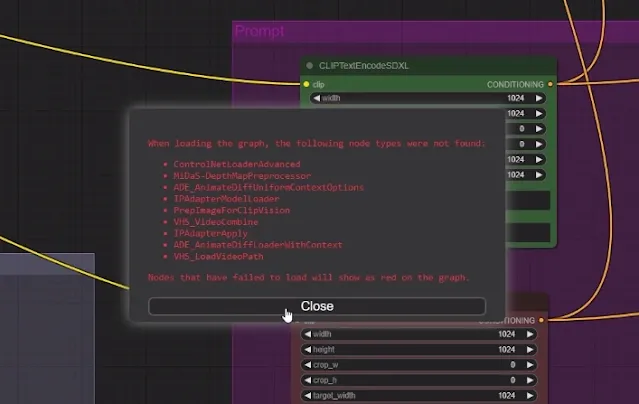
3. Now, if you are opening this workflow for the first time you will get a bunch of missing nodes error.
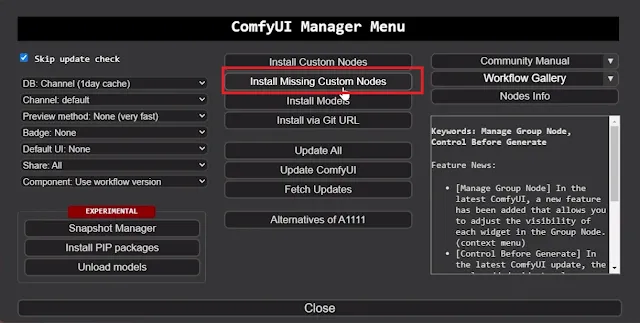
4. Simply download all of them one by one using the ComfyUI Manager. To do this, open ComfyUI manager from “Manager” tab and into the manager and select “Install Missing custom nodes“.
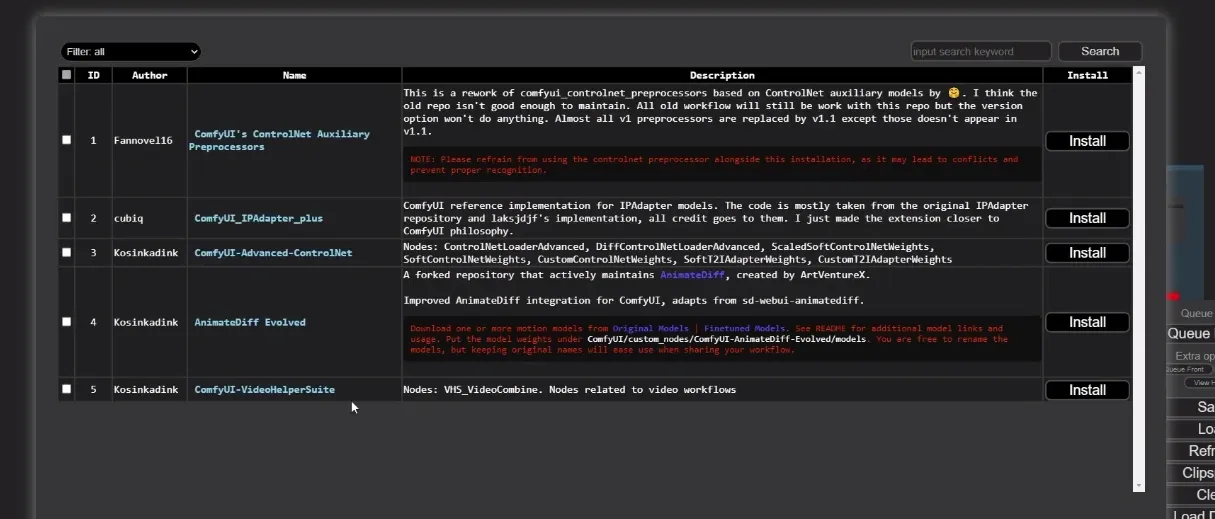
Then, just install all the custom nodes one by one from the list by clicking on the “Install” button.
5. Now, just restart ComfyUI by hitting the “Restart” button.
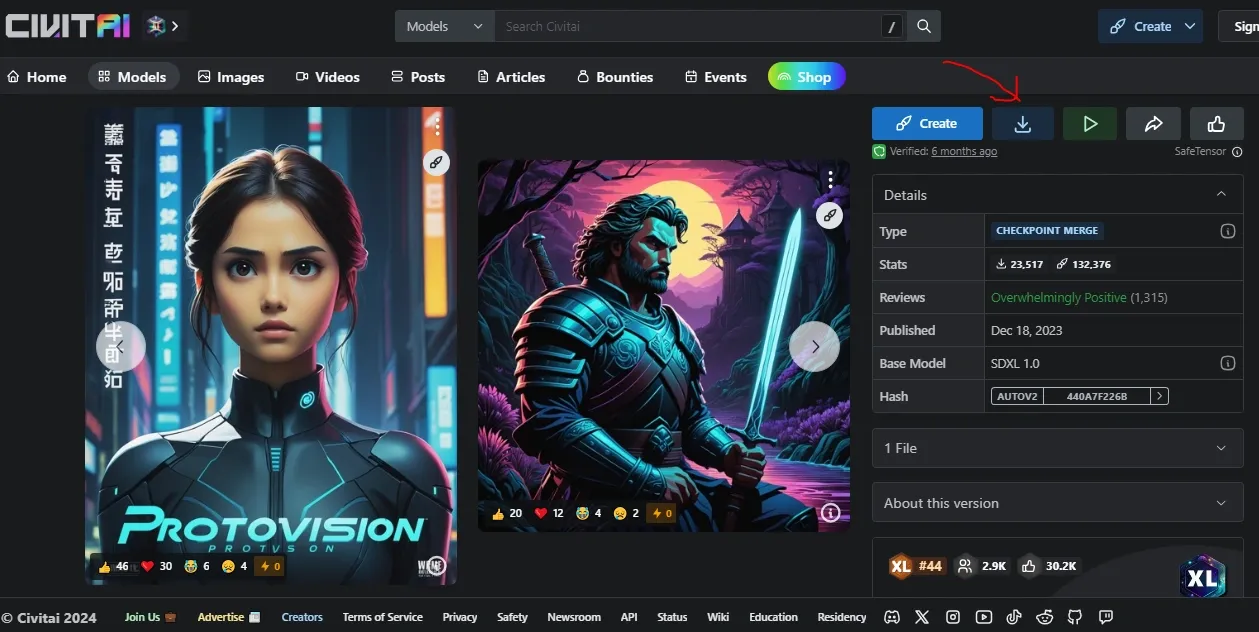
6. Next is to download the model checkpoints necessary for this workflow. There are tones of them avaialble in CivitAI. For illustration, we are downloading ProtoVision XL.
You can choose whatever model you want but make sure the model has been trained on Stable Diffusion XL(SDXL).
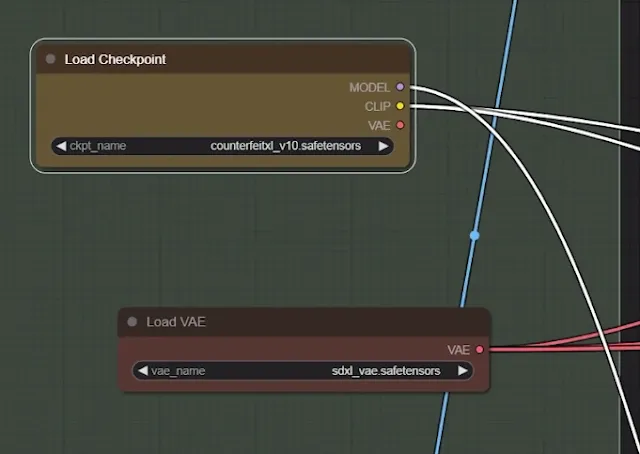
As usual, save it inside “ComfyUImodelscheckpoints” folder. Its to take in mind that your output will be depend on the model you use as checkpoints.
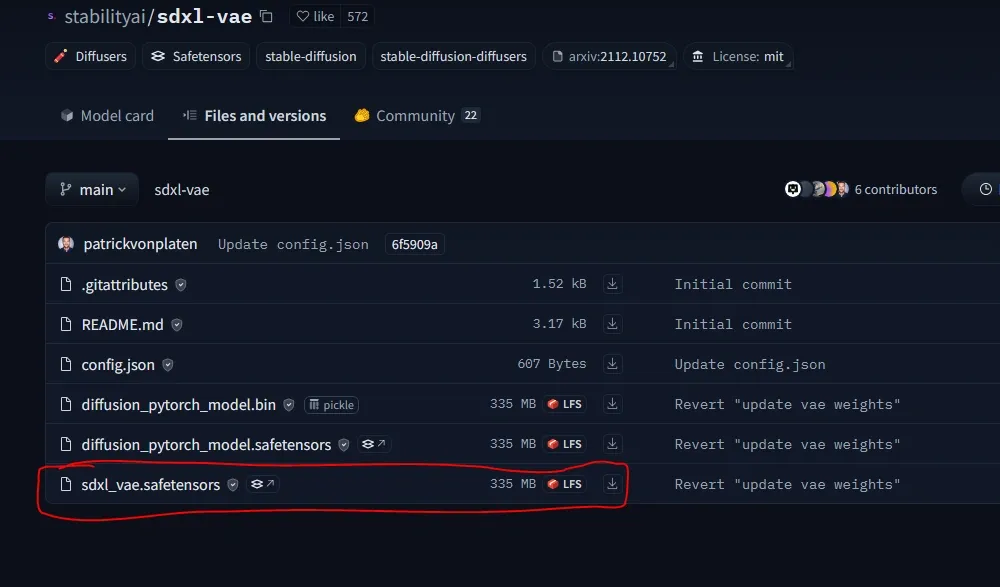
7. Here, we are using SDXL fine-tuned model, so we will also need to use sdxl vibrational auto encoders as shown above “sdxl_vae.safetensors“. Download it from the Hugging Face repository. After downloading, place it inside “ComfyUImodelsvae” folder.
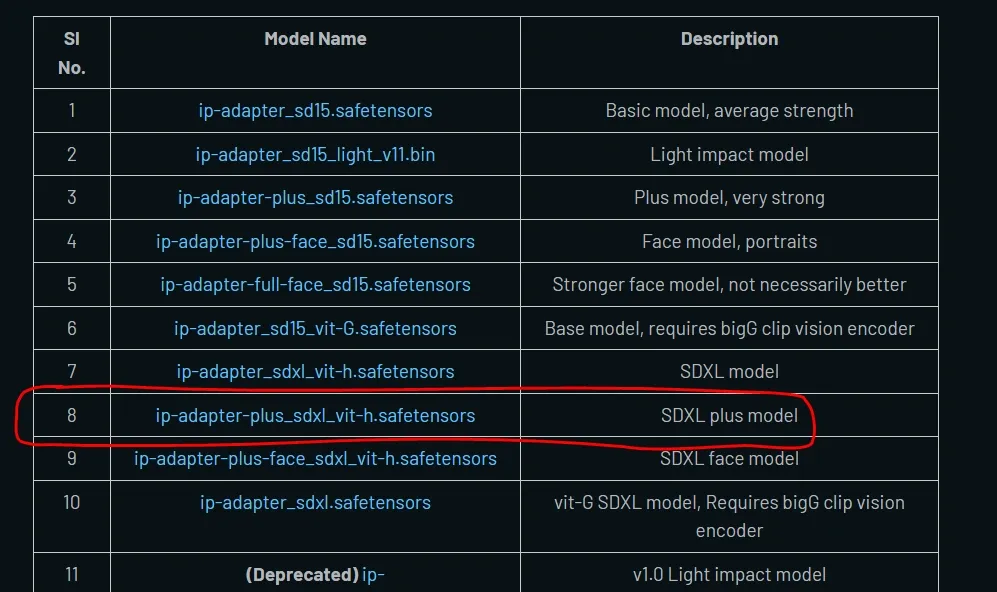
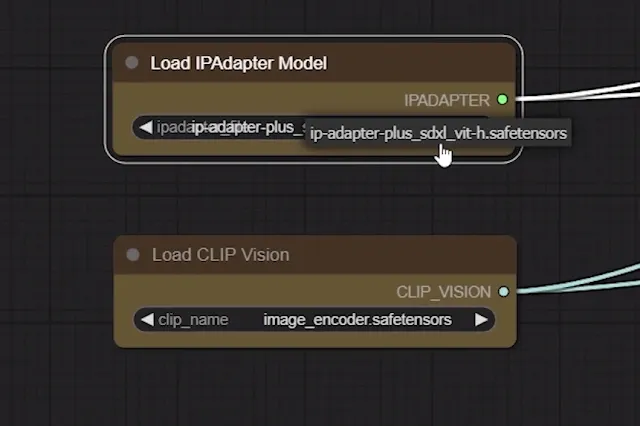
8. Next you need to download IP Adapter Plus model (Version 2). Here, we need “ip-adapter-plus_sdxl_vit-h.safetensors” model for SDXL checkpoints listed under model name column as shown above.
After download, just put it into “ComfyUImodelsipadapter” folder. Those users who have already upgraded their IP Adapter to V2(Plus), then its not required.
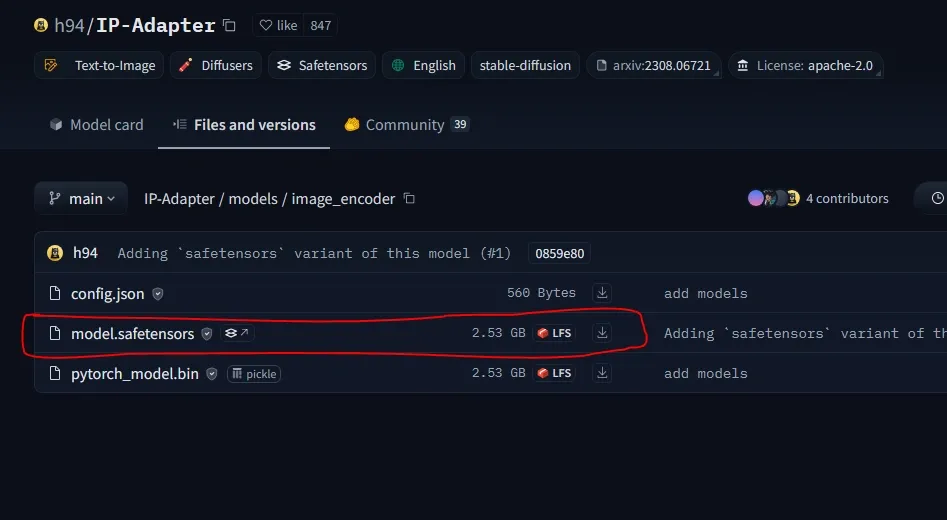
9. Download the image encoder for SDXL from Hugging Face repository. Rename the downloaded file as “image_encoder.safetensors” and save it inside “ComfyUImodelsclip_vision” folder.
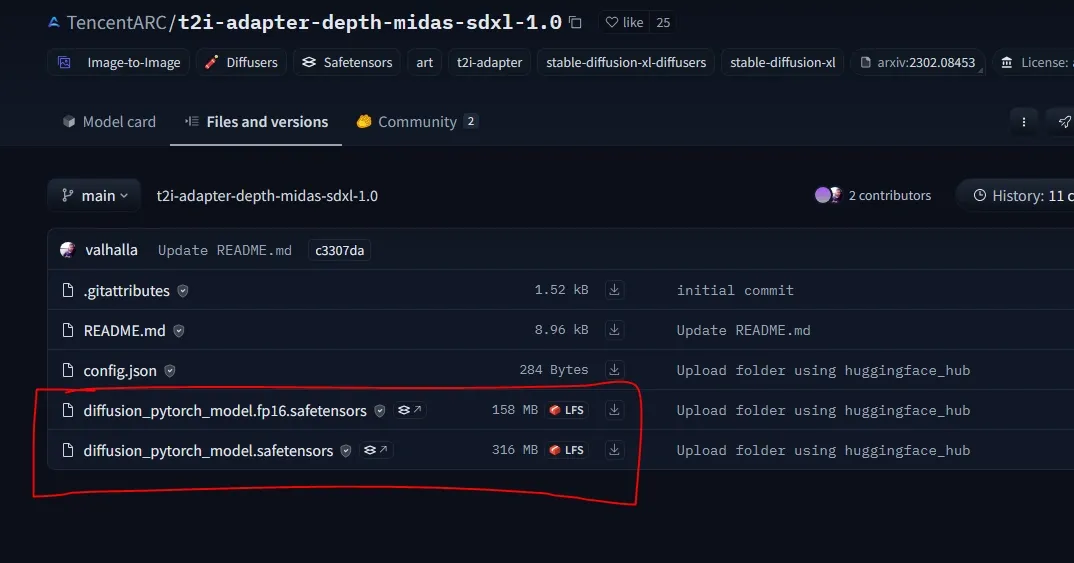
10. Download the Text2Image control net model from the TencentArc’s Hugging face repository. You will have two version of same model version i.e. “diffusion_pytorch_model.fp16.safetensors” (for faster rendering with low quality)and “diffusion_pytorch_model.safetensors” (for higher quality with slow rendering speed).
So, just download both of them and put them inside “ComfyUImodelscontrolnet” folder.
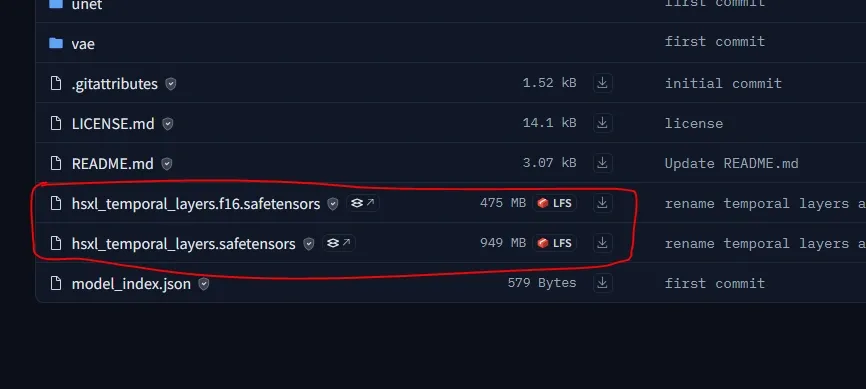
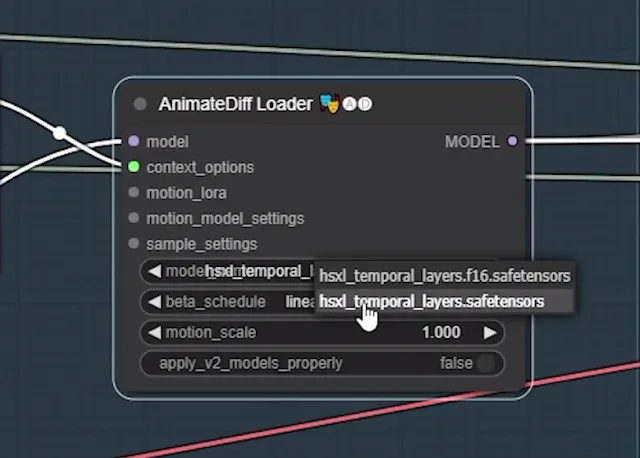
11. Last, you also need to download both the models “hsxl_temporal_layers.f16.safetensors” and “hsxl_temporal_layers.safetensors” from the Hotshotco’s Hugging face repository. Save them inside “ComfyUIcustom_nodesComfyUIAnimatedDiff-Evolvedmodels” folder.
12. Now, just restart your ComfyUI to take effect.
Workflow Explanation:
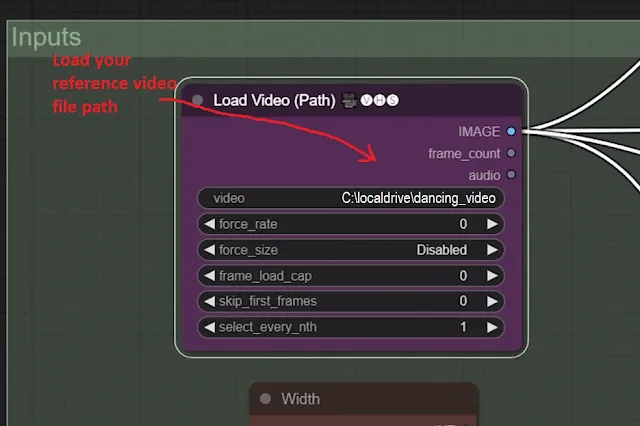
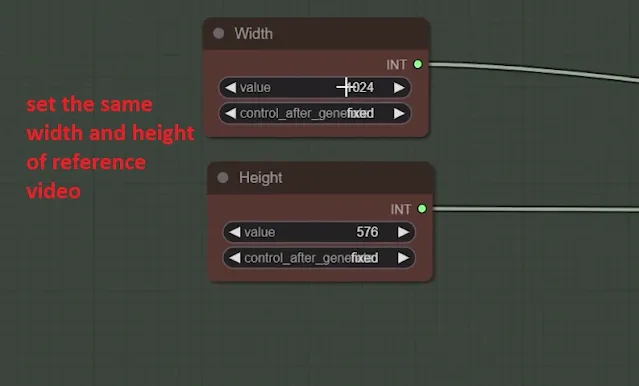
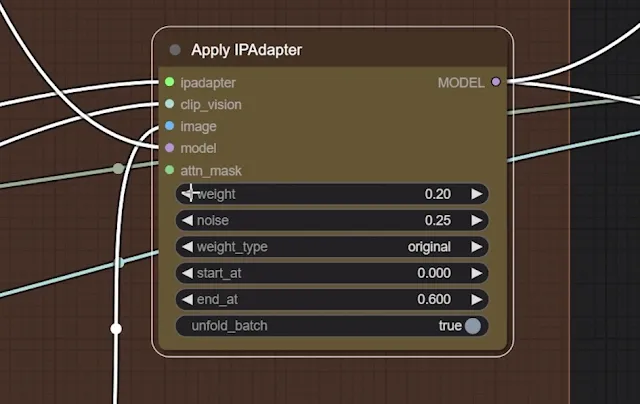
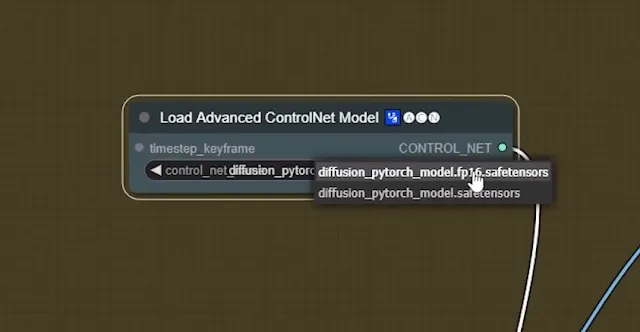
People having VRAM lesser than 12GB should choose the “fp16” version and other can select the latter one.
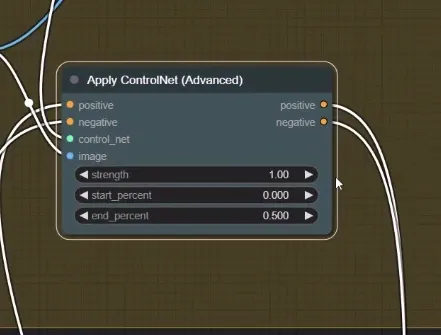
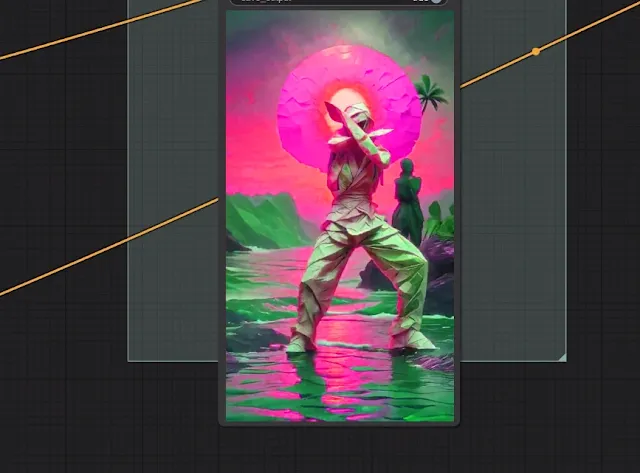
AI Hip Hop dancer is here🔥😍#aivideo #stablediffusion
Techniques:
-Models-ControlNet+AnimateDiff
-WEbUI-ComfyUI
-Consistency- OpenPose+DWPoseImage-Prompt : [subject], landscape sunset, origami art style, creative , 8k
Follow more tutorial👇👇: https://t.co/Hb7WznzzuJ pic.twitter.com/pBLdAPAnjs
— Stable Diffusion Tutorials (@SD_Tutorial) May 10, 2024

