Nowadays, creating AI videos is easy with various human reference pose models. But now, you can add lighting effects like we do in VFX(Visual Effects) by combining Light Map.
This workflow is the combination of IC-Light, ContolNet, and AnimateDiff model. So, you should take the knowledge to leverage the overall advantage of the provided workflow.
Tiktokers will cry at the Corner 😛#stablediffusion #aivideo #aianimation
Bring Life to your AI shorts/Reels and make VIRAL🔥AI video + IC Lightmap = 🔥
Workflow coming Soon….⏰
Now in ComfyUI🙂
Here is the output 🧐👇 pic.twitter.com/UMNOc5xcci
— Stable Diffusion Tutorials (@SD_Tutorial) July 8, 2024
The workflow is advanced, but it has been broken down in a well-organized and systematic manner. All the required links and detailed explanations are provided. Its to make sure that the workflow only supports ComfyUI and not the Automatic1111.
Installation:
1. Install ComfyUI Webui into your machine and learn ComfyUI basics.
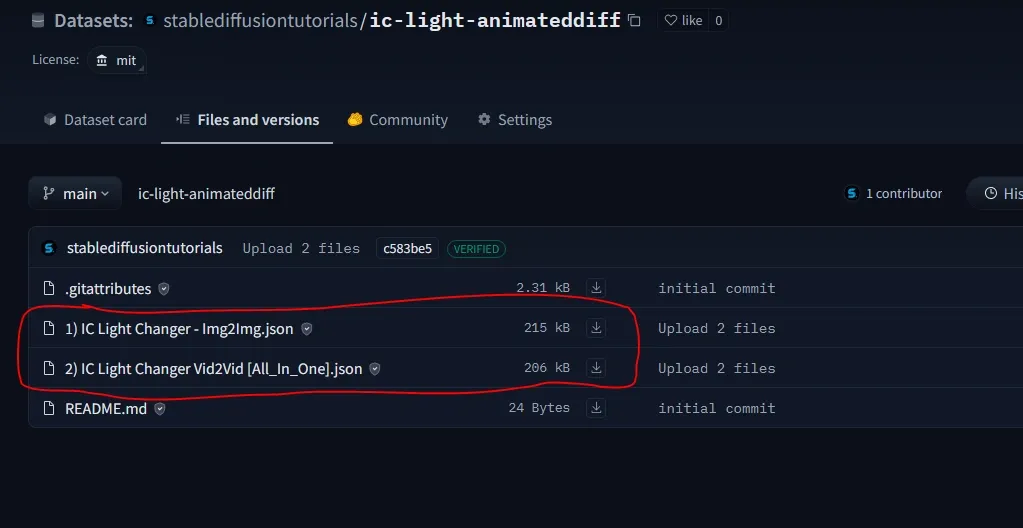
2. Now, the time to download the workflow. The workflow has been created by Jerry Davos. You can download from the our Hugging Face Repository or alternatively from his Google Drive.
Basically there are two workflows:
(a) Video2Video (more friendly for ComfyUI users) – This works for maximum 20 seconds video generation. We will be explaining this in detail.
(b) Image2Image – This is for longer videos but needs extra third party editing tools like After Effects or Premiere pro to merge video frames and IC-light map into one. For this illustration, you can take reference from his YouTube video.
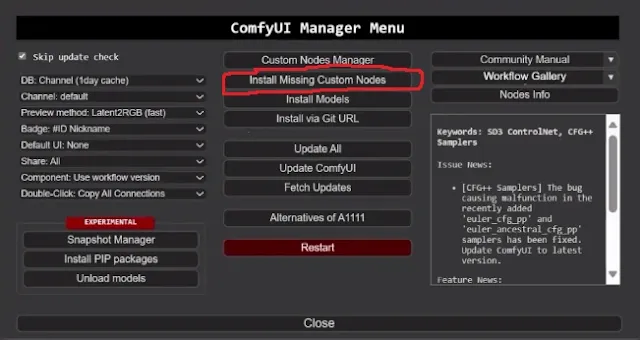
3. After downloading directly drag-drop the downloaded workflow into ComfyUI canvas. After loading, you will get a bunch of red colored missing nodes. Simply, move to your ComfyUI manager and select “Install missing custom nodes“.
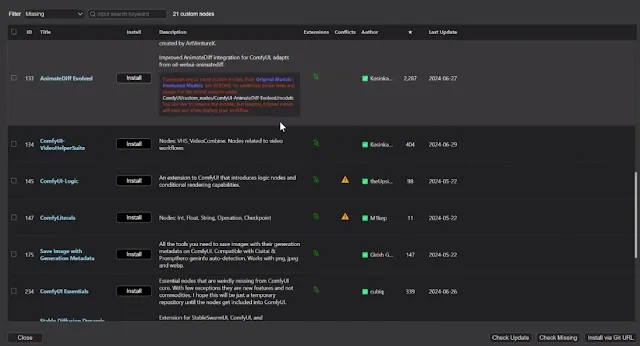
After this, a bunch of missing nodes get appear in the list. Just select all by navigating into the top left corner and click “Install“.
Be patient, as it has a bunch of nodes so it will take some time to get install into your machine. After completion, restart your ComfyUI to take effect.
Various custom nodes required link are already available into note node. You can take reference if found any installation error.
4. Download these models listed below. All the relevant links are already given as note node besides every nodes of Workflow:
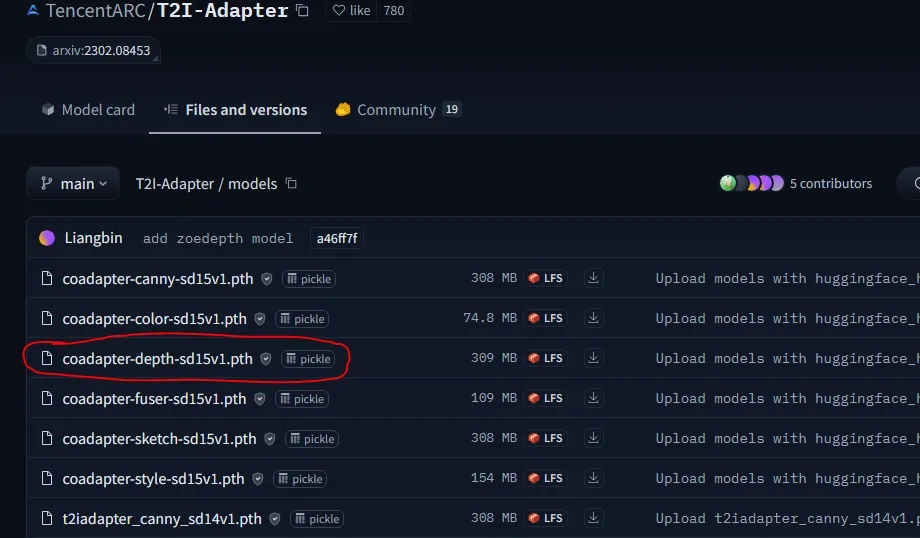
(a) T2i adapter image Depth (coadapter-depth-sd15v1.pth file)model, save in inside “ComfyUI/models/ControlNet” folder.
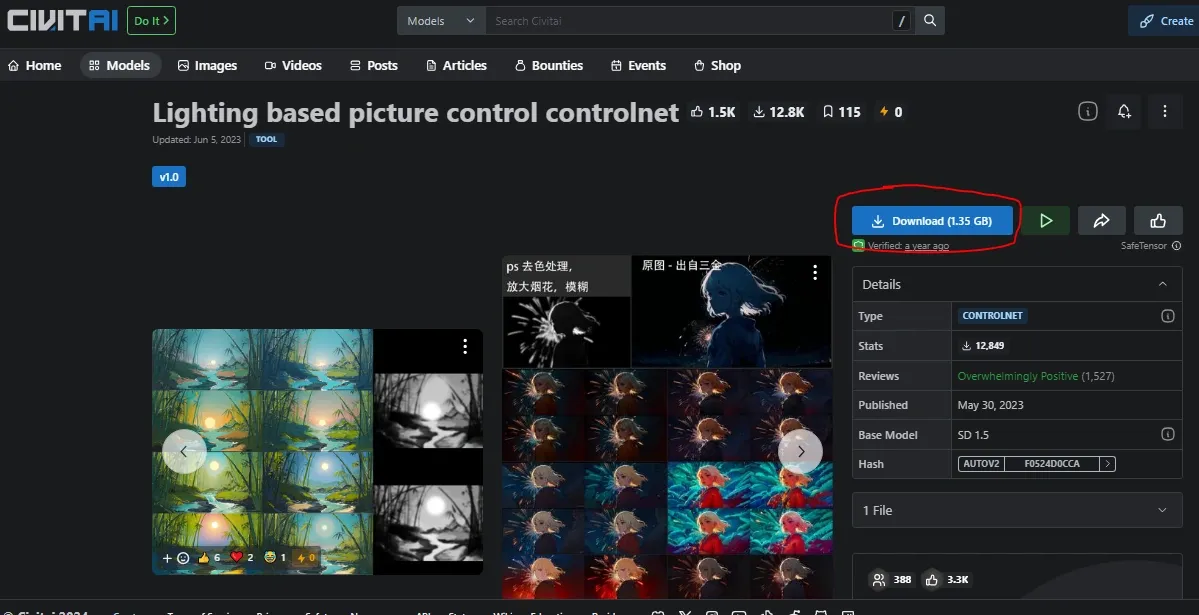
(b) Lighting Based ControlNet Model from CivitAI and save it into “ComfyUI/models/ControlNet” folder.
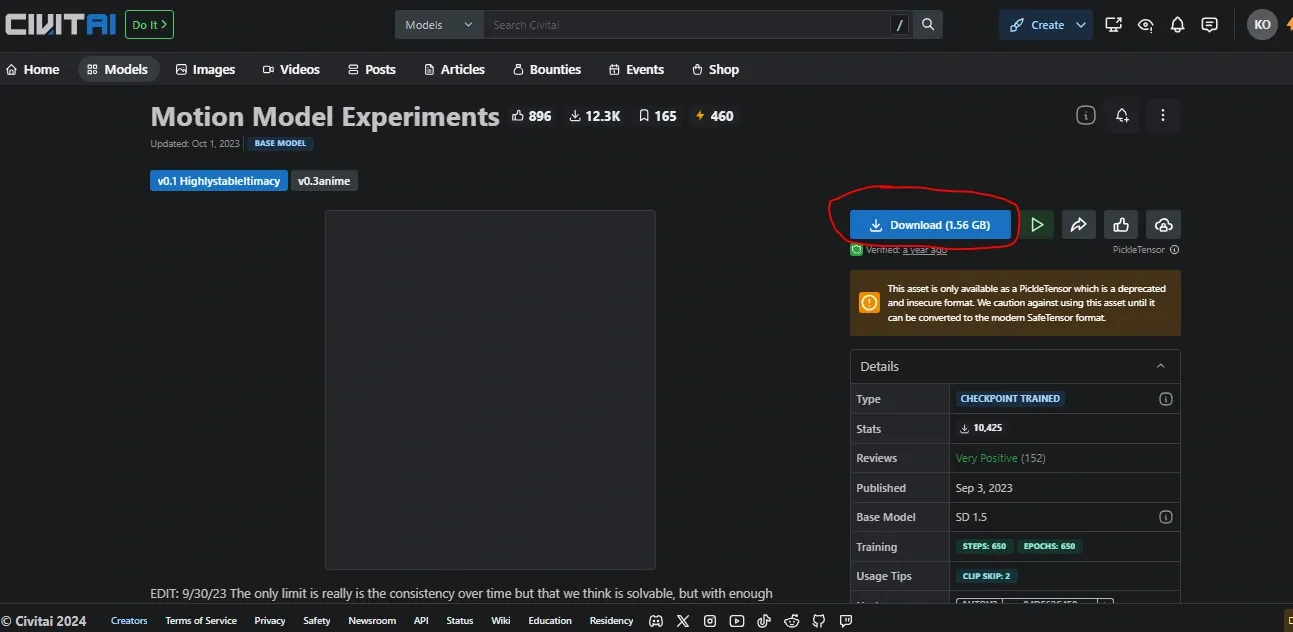
(c) AnimateDiff Motion Model and put this inside “Comfyui/models/animatediff_models” folder. Don’t know about AnimateDiff models, checkout our AnimateDiff SDv1.5 and AnimateDiff SDXL for detailed information.
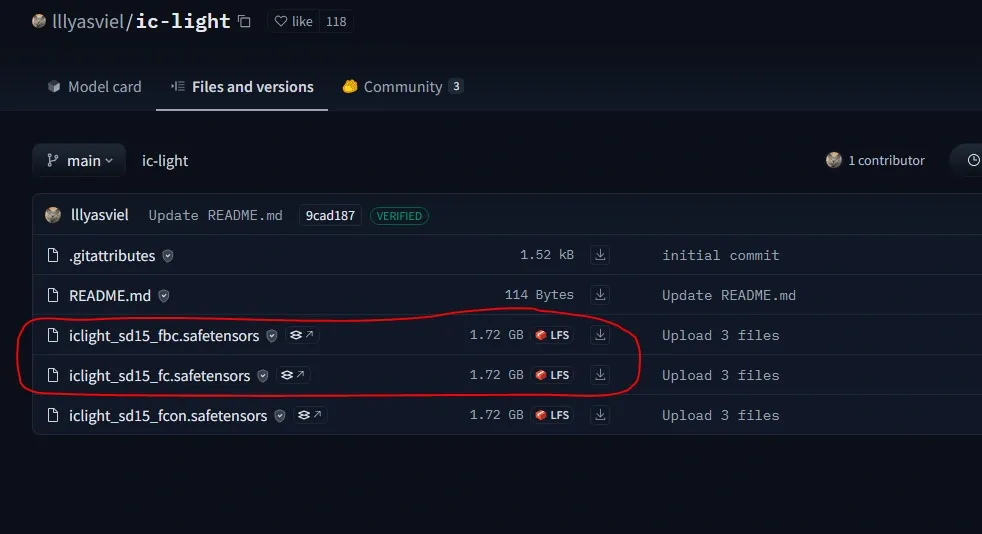
(d) IC Light Model (iclight_sd15_fbc for background and iclight_sd15_fc for foreground manipulation) and save it into “Comfyui/model/unet” folder. You can also checkout our IC Light tutorial for in-depth knowledge.
(e) Sam model and Face Ultralytics model- It get download automatically. No need to download from the respective link.
Steps to generate:
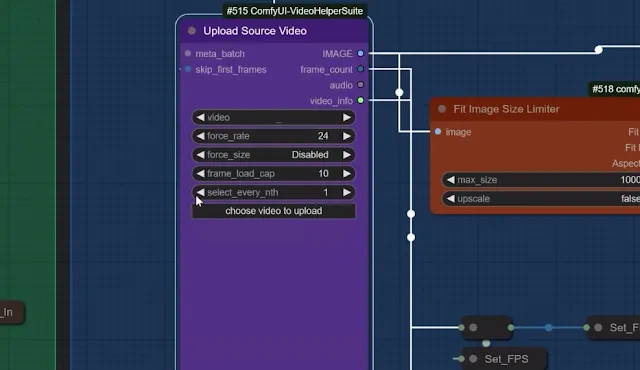
1. Upload your reference video. Put your relevant positive and negative prompts.
2. Upload your created or downloaded light map video.
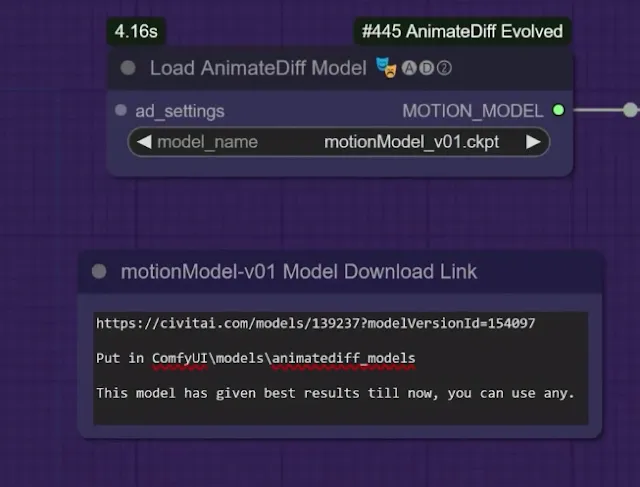
3. Load AnimateDiff motion model.
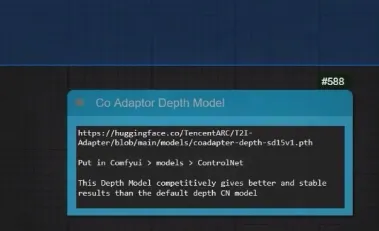
4. Load control net depth model.
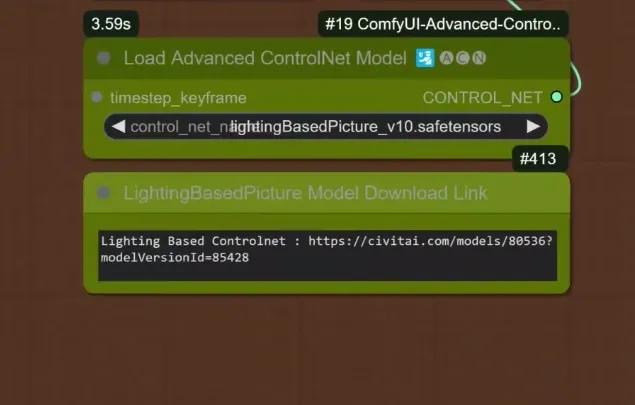
5. Load lighting based controlnet model.
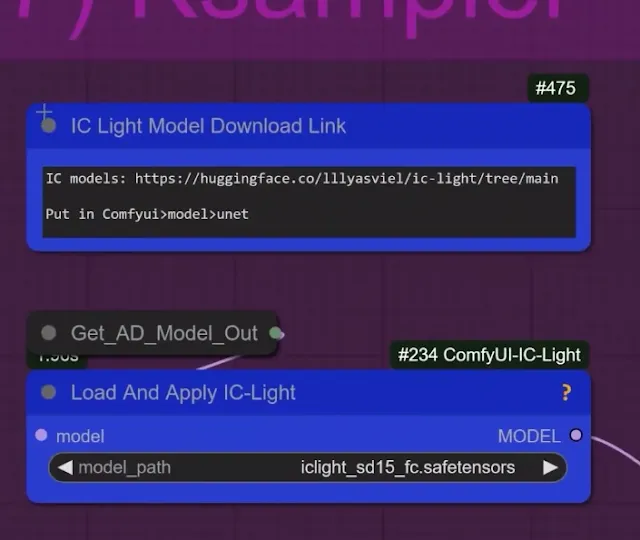
6. Load IC light sd1.5 models.
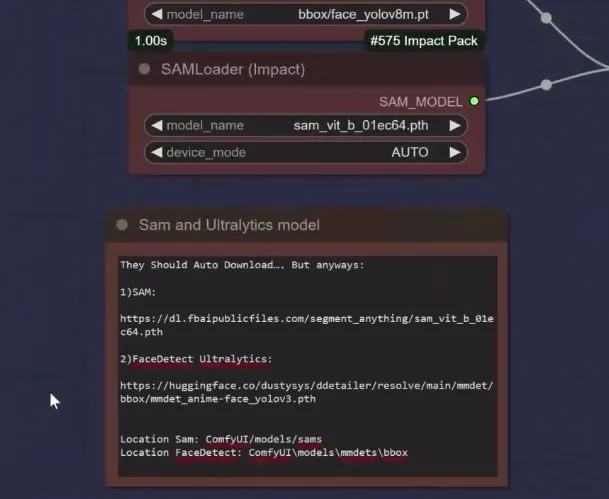
7. Load Sam and Face fix model.
8. Set your KSamspler settings.
9. Click Queue prompt to generate your video.
Workflow Explanation(Video2Video):
The workflow has been separated into different groups so that you can understand and work flawlessly for each nodes.
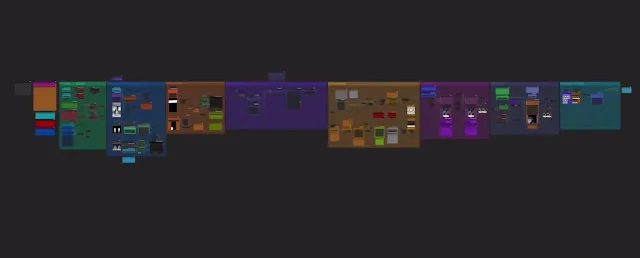
1. Input1 group:
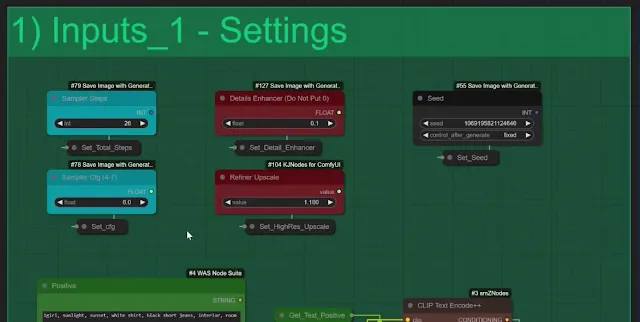
Basic settings
- Seed: This sets the generation seed for each Ksampler, making sure your results can be reproduced.
- Sampler CFG: This controls the CFG values for the Ksamplers, which affects how detailed and styled the output will be.
- Refiner Upscale: Think of this like the Highres Fix value. To get the best quality, set it between 1.1 and 1.6.
- Sampler Steps: This tells the Ksampler how many steps to take to render an image. It’s best to leave this at the default of 26.
- Detail Enhancer: This boosts the fine details in your final result. You should use values between 0.1 and 1.0 for best results.
Prompting
- Clip Text Encode Nodes: These help encode text to maximize quality. It’s best to leave it set to full.
- Positive Prompt: Enter prompts that best describe your image with the new lighting.
- Negative Prompts: These are preset for optimal results, but you can edit them if needed.
Checkpoints and Loras
- Checkpoint: Pick any realistic fine tune SD 1.5 model for accurate results (others like SDXL not supported).
- Loras (Optional): Select any Loras from the provided list if you want to convert your image style. Don’t use them at full strength; a value between 0.5 and 0.7 works best.
2. Input2 group
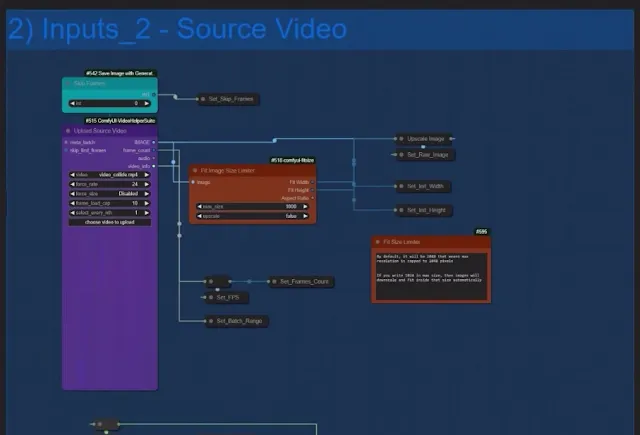
Its to do the inputting of your reference video.
- Upload Source Video: Upload the video of your human character that you want to change the lighting of.
Make sure it’s under 100 MB, as larger files won’t handled by ComfyUI. You can use any video compression tool to compress your video to be in this limit. Keep your video length up to maximum 20 seconds to avoid rendering issues. The video resolution must be maximum 720p. The Skip Frames Nodes help you to skip some of the starting frames. This helps in identifying our video preprocessing.
- Fit Image Size Limiter: This sets the maximum resolution for rendering, whether it’s landscape or portrait. The resolution will always be under or equal to the value you set. For best results always use values between 800-1200. The more you set the higher your VRAM consumption will be.
Note: Start by using a Frames Load Cap of 10 to test it out the results. Use around 200-300 frames at a fit size of 1000-1200 (for 24 GB of VRAM users). Set the Frames Load Cap to 0 to render all frames( not recommended for longer videos).
Mask and Depth Settings
- Mask: Utilizes Robust Video Matting with default settings, which are suitable for most cases.
- Depth ControlNet: Incorporates the latest DepthAnything v2 models.
Set Strength and End Percent to 75% for optimal outcomes. For best results, add the Co Adaptor Depth model.
- Upload Light Map: Upload the light map video you want to use.
It will automatically scale to match the dimensions of your source video.Make sure the light map video is as long as or longer than the source video, or you’ll get an error.
3. Input Light Map group
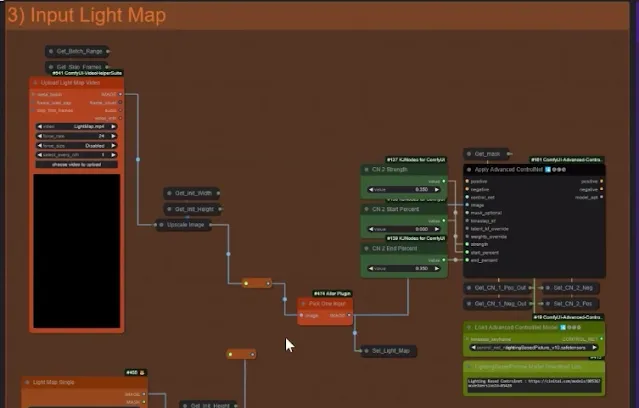
It is for inputting the light map video clips. It can be downloaded from stock royalty free websites like Pixabay, Unsplash, Shutterstock. While downloading always choosing higher resolution for best results.
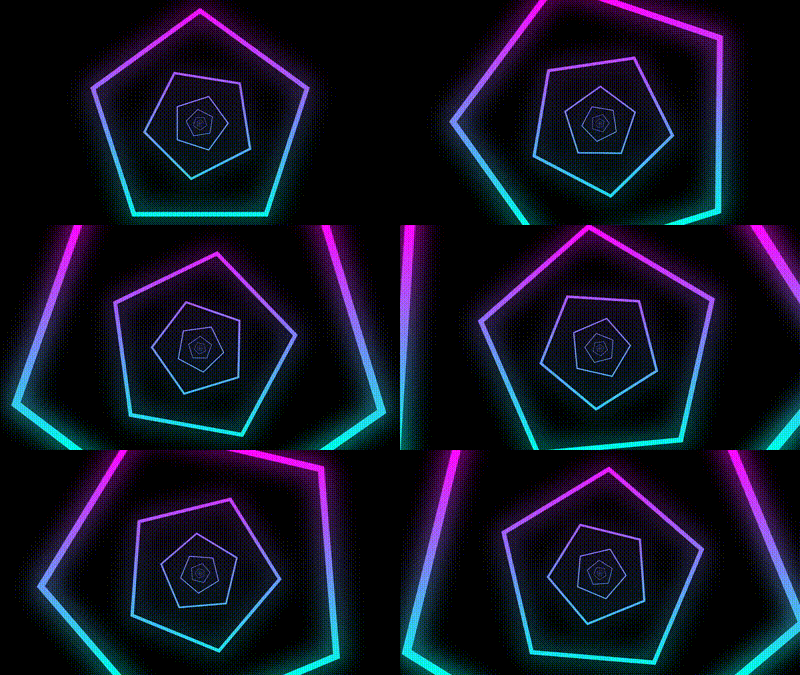 |
| Example1: Stock footage |
 |
| Example2: Stock footage |
By the way, we downloaded from royalty free websites. To achieve the unique patterns, you can get your hands dirty with Adobe premiere pro or After Effects. The limit is endless.
Always upload larger or same video length as your reference video to avoid any errors.
- Light Map ControlNet: This light map is also used with the Light ControlNet model. Its recommended to use this model only for the workflow.
- CN Strength and End Percent: Use low values to avoid overexposure or sharp light transitions.
To Use a Single Image as light map, unmute these nodes and connect the reroute node to “Pick one Input” Node.
4. AnimateDiff group
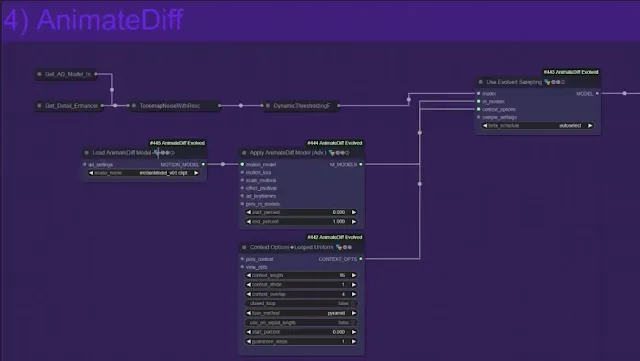
This helps to play with the AnimateDiff model settings.
- Load Animatediff Model:You can choose any model depending on the effects you want to achieve.
- Animatediff Other Nodes: If you want to adjust other settings, you’ll need some knowledge of Animatediff. You can find more details.
- Settings SMZ: This node is used to enhance the quality of the model pipeline. All settings are preconfigured to work well.
5. Composing group
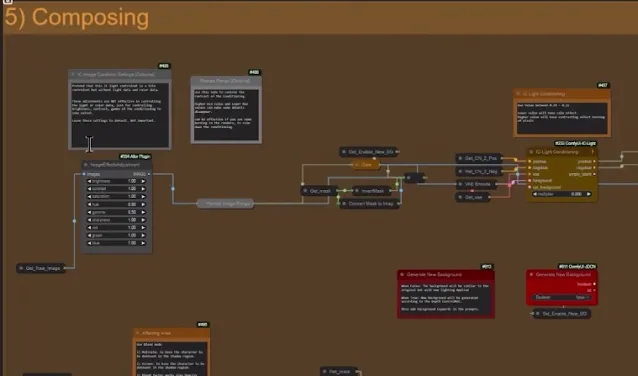
It will let you in composing the IC Light Map composing.
- Top Adjustment Nodes: These nodes are used to control the conditioning of the IC Light Conditioning. They help you adjust contrast and manage brightness.
- Generate New Background: When this option is disabled, the tool will use the original image inputs and try to match the details of the source video’s background based on any “Background Prompts” you have included in the positive prompt box.
- When Generate New Background is Enabled: This will create a new background for your image based on the depth information from your video.
- Light Map on Top: When this is set to True, the light map will be on top and more dominant over the source video. When set to False, the source video will be on top, making it more dominant and brighter.
- Subject Affecting Area: There are two blending modes you can use.
- Multiply: Darkens the shadow areas based on the light map’s position (top or bottom).
- Screen: Brightens the shadow areas based on the light map’s position (top or bottom).
- Blend Factor: Adjusts the intensity of the blending effect.
- Overall Adjustments: This setting lets you control the brightness, contrast, gamma, and tint of the final processed light map from the previous steps.
- Image Remap: Use this node to adjust the overall global brightness and darkness of the entire image.
- Higher Min Value: Increases the brightness of the scene.
- Lower Max Value: Darkens the scene and can transform bright areas into morphing objects, similar to the QrCode Monster CN effect.
- Min Value: Set this mostly to 0.1 or 0.2 if you just want to brighten the scene a bit. Setting it to 0 creates pitch-black shadows for black pixels in the light map.
6. KSampler Settings
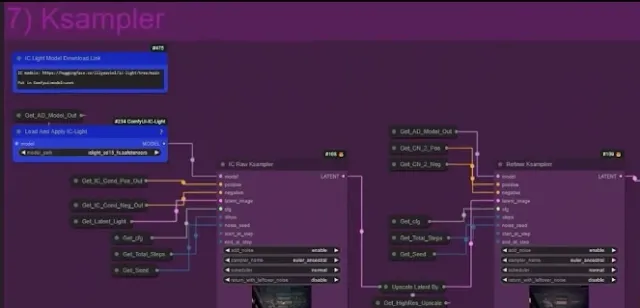
- IC Raw Ksampler: This sampler starts at step 8 instead of zero because it applies IC light conditioning, which removes the noise from the frames starts at the 8th step.
For instance, if you set the End Step to 20, the Start Step at 0: means no light map effect. Start Step at 5: means of 100, 50% of the light map effect. Start Step at 10: applying 100% of the light map effect. Test between 3 and 8 for better results. If you set Generate New Background to TRUE: Lower the Start Step to below 5 for better results.
- Ksampler Refine: It works like a Img2Img Refiner After IC raw sampler.
For an End step of 25: Start Step at 10 and below will work like raw sampler and will give you morphing objects. 15 will work like a proper refiner. 20 will not work properly. Above 20 and above will produce messed up results. Default 16 is good.
7. Face Fix
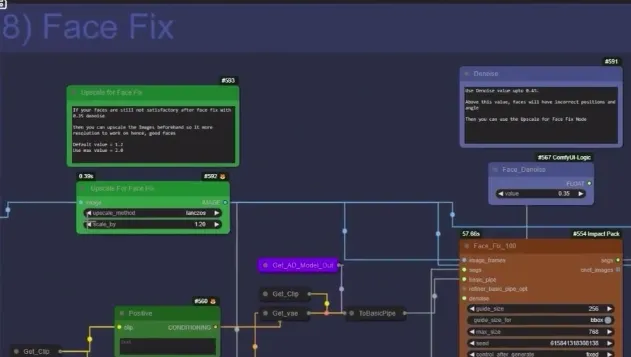
Its for fixing face issues if you do not get the required output. Simply put your relevant prompts into positive prompts and negative prompts.
- Upscale For Face Fix: You can upscale the faces to about 1.2 to 1.6 for better results.
- Positive Prompt: Write prompts here to describe the face you want. You can change it to whatever you like.
- Face Denoise: Set this to 0.35 – 0.45 to get the best results. Going higher might cause issues like incorrect rendering or sliding faces.
8. Output saving group
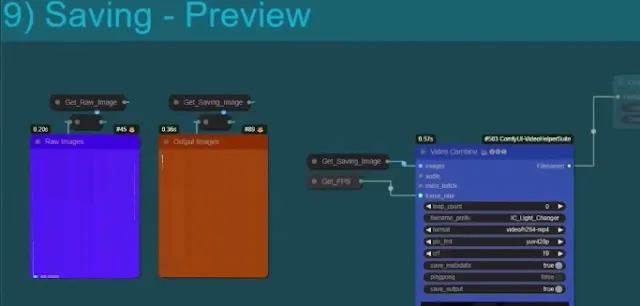
It is for saving the generated Output.
- Video Combine: This setting exports all the frames as a video. Its to note in mind that if the combine process fails, it means you have too many frames and are running out of VRAM. So, you should low the frame numbers to avoid such error.
By default, it saves the video into the “ComfyUI/Outputs” folder.

